Coloured Backgrounds vs Transparent Backgrounds
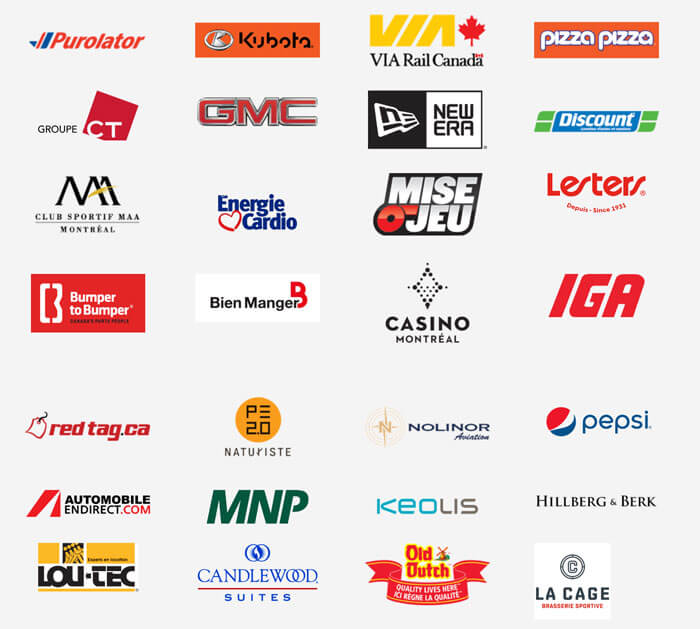
Recently, I was reading up on my city’s sports teams’ websites for recent changes to the team. Curiously, I look to see who the corporate sponsors are and to see if they have an example I could show. Well, I won’t spill the beans on which site I was looking at. One website, in particular, had nine logos with transparent backgrounds while the other two logos (Coastal GasLink and LNG Canada) has a white background.

What does that say to me?
Two things:
- The marketing team on the partner side didn’t know how to give a transparent logo. I have experienced this when creating designs for print or the web on a marketing team. Whenever I ask for vector logos from a business, they sometimes provide screen grabs from the website. Or they drag the logo onto the desktop. When companies do indeed give me those types of logos, I usually go and see if there are better quality logos. I don’t want to cheapen our website because the sponsor doesn’t want to give us their high-quality logos. There are ways around it. And no, I am not re-drawing the logos. (well, I could, but only if I have no choice!?)
- Another rationale is it might be possible the sports team marketing team or graphic designer has never experienced this before. Or, maybe the sports team graphic designer doesn’t know how to do it either. Typically this process is not taught in school, but it should be. I have taught this a couple of times in past classes although, this isn’t part of the curriculum. It was more of an added bonus to the learners.
What does that say about the design?
Let’s have another look at the image with the two white backgrounds. If you look at the image above, do you like it or dislike it? Yes, the layout can be much cleaner once those two logos have a transparent background.
I wanted to see if other sports teams had this same issue, and it is very apparent. On the sponsor team website, the layout of the La Cage logo is aligned to the left because of the white background. There are moments that a logo being used could be dated. Check the website to see the latest logo being used. And see if there is a Marketing department, and ask for the current logo in a vector format.
In the case of the Bumper to Bumper logo, the website appears to show the name on one line with no colour background to what we see being used as a stacked name and in colour. Always verify with the client what is the latest logo to be used.
Avoid These Logo Faux Pas in Your Websites
I will show you each in each step in what and how I would attempt to get a transparent logo. Once I show you, you are to be amazed how easy it is once you do it too!
Steps In Removing the White Background in a Logo
What should it look like in the first place?
Google the business and see their website. The Bumper to Bumper logo in the above image may have been dated as the one on the website is the company name is on one line only.
Any logo branding? Brand guidelines?
Hopefully, the business website has a search bar for you to enter ‘logo branding’ or ‘brand guidelines.’ For example, in the first image, the Coastal GasLink Pipeline Project website doesn’t have any logo branding, branding guidelines or even an annual report.
Time to Google?
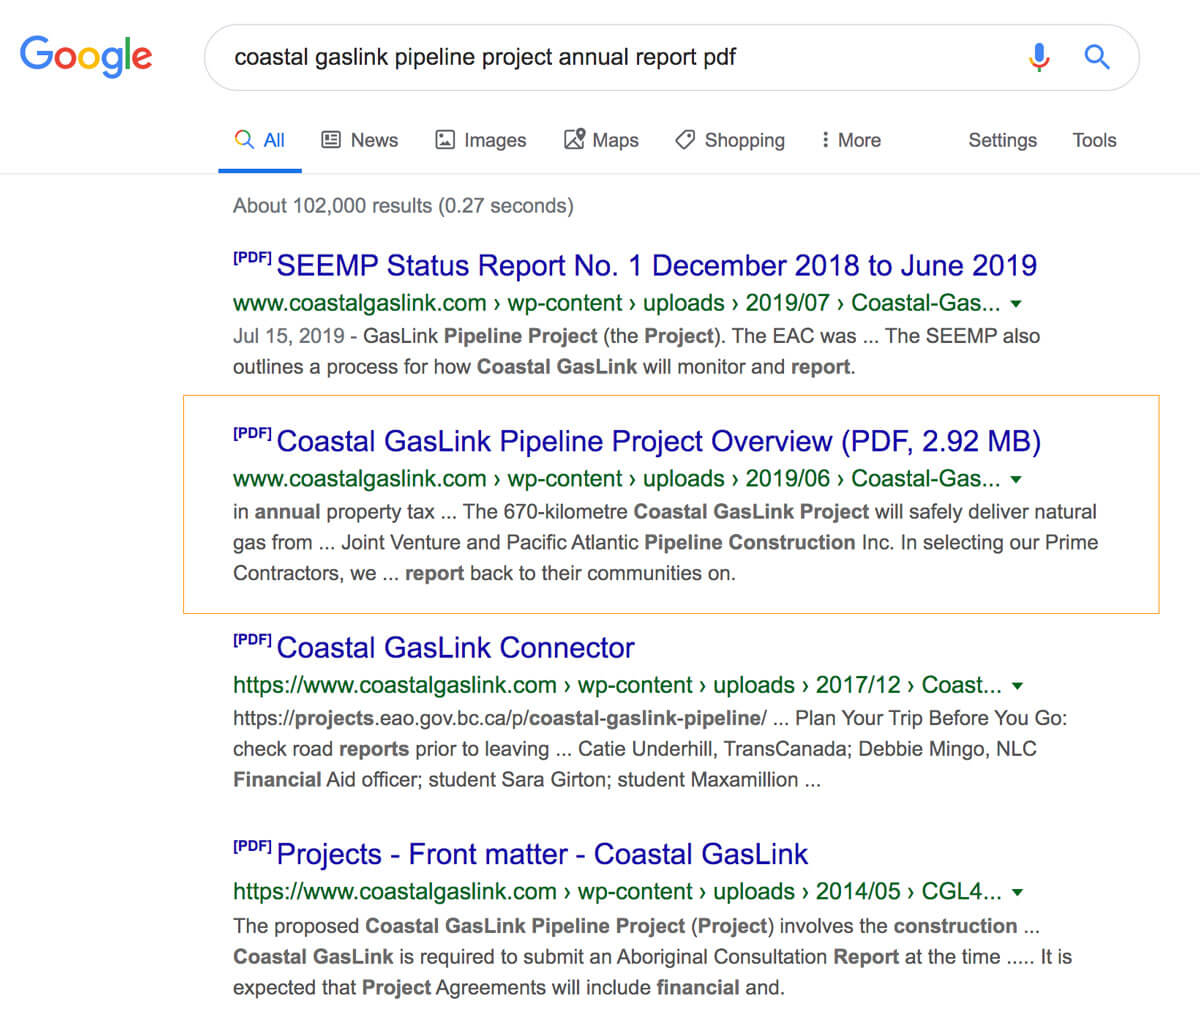
I like to use Google as my search engine. And I will enter the business name with the words ‘annual report PDF.’ So, in Google, I would begin in the search box, ‘Coastal GasLink Pipeline Project annual report PDF.’ In my searches, I see a list of PDFs. I went ahead, and the second listing is the one we wanted, Coastal GasLink Pipeline Project Overview. Although it isn’t the annual report, in this scenario, it will work great.

Go ahead and download the PDF
Click on the listing. Depending on how your web browser is set up, it may automatically download to your computer. Or, it may open in your web browser window, which you need to click on the download button.

Working with Illustrator
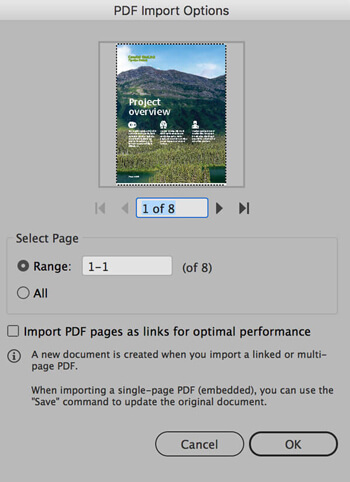
Let’s open this PDF in Illustrator. A pop-up dialogue box will open, called PDF Import Options. Because this is a multi-page PDF, you will have the option to either open one page or all the pages. The great thing about Illustrator is you can also flip through the pages to see which page you want. We already know we want the first page, so go ahead and enter page one in the select range.

Missing Fonts Relevant or Not?
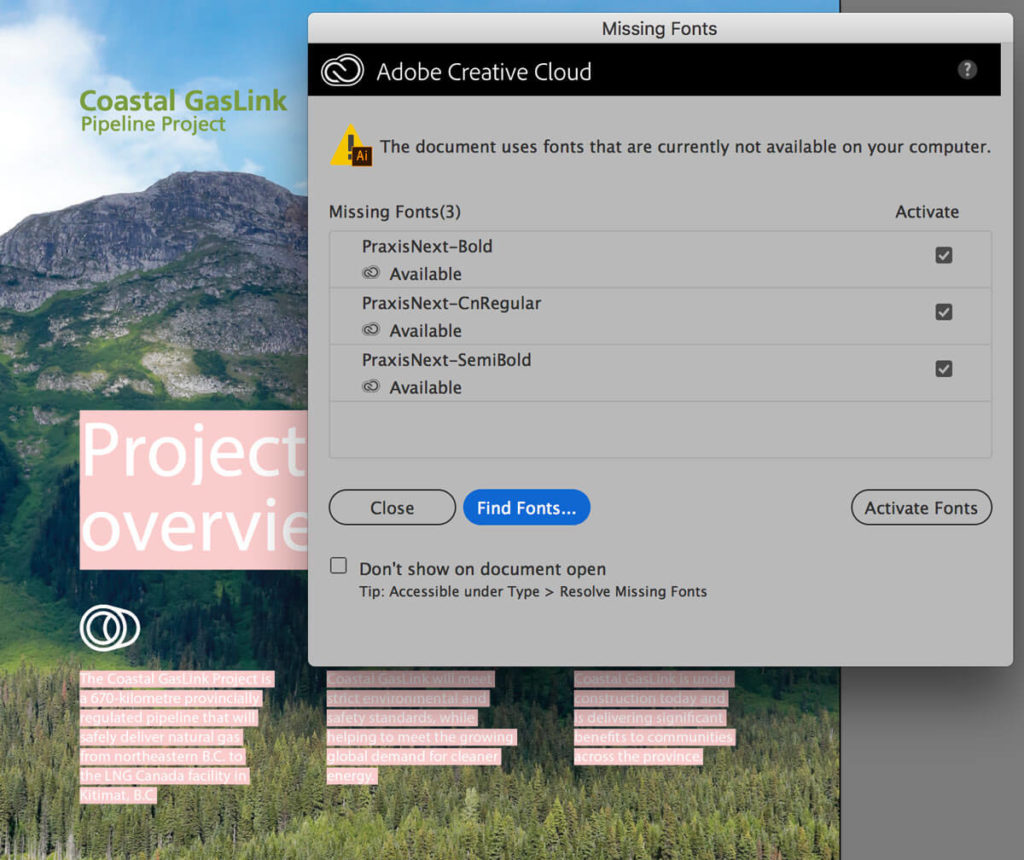
Open the PDF in Illustrator. A missing fonts dialogue box may or may not open. If it doesn’t open, it means there are no missing fonts. And if it does open, well, yes, you have missing fonts. The fonts that are are questionable are the ones highlighted in pink. In this case, the logo isn’t affected at all, so we can ignore this warning and click on close.

Advanced vs Basic Tools?
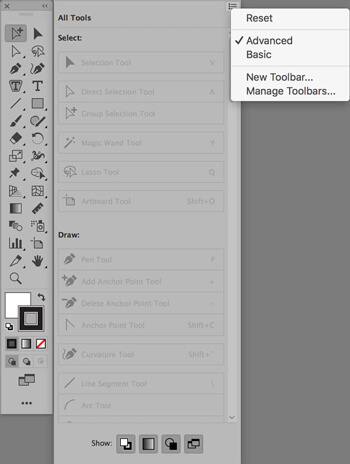
With the tools in Illustrator, you have the option of using the Advanced Tools versus Basic. What’s the difference. If objects are grouped together, selecting any part of the group with the Group Selection tool (white arrow with the + symbol) selects all the objects in the group. The Direct Selection tool (white arrow only) will select the points or segments that make up an object. The Selection tool (black arrow) will always choose the object as a whole.
In the image below, I have my toolbar set up as advanced. If you want to change yours to basic or advanced, click on the three small black circles at the bottom of the tools. A pop-up box will open to the side of the tools, and in the upper right corner will have a small hamburger menu or drop-down menu. Click on this to open, and you can change the toolbar to either advanced or basic.

Effects of Using the Group Selection Tool and Direct Selection Tool
This really only depends on how we use this tool. For this example, we want to take out or extract a logo from a PDF and create a logo with no colour background. For example, when we are removing the bounding box around the logo, generally, we want to make sure the logo is clean with unnecessary art elements. So, when I select the Group Selection Tool and click on delete, it removes the bounding box in one click. If I decide to use the Direct Selection Tool, I would need to hit delete two times for the bounding box to be removed. Yes, there are benefits to using the Group Selection Tool but as well as disadvantages. Different scenarios will give you different results, but the more you use these tools, the better you will become.
Clean-Up Time
he first thing I want to do is use the Selection tool (black arrow) and select the logo only. Hopefully, it picks only the logo, and you will know if the bounding box in blue is selected. Decide to use the Group or Direct Selection Tools, you may need to make a marquee selection by dragging around the logo. A selected logo has a blue bounding box around the logo. If you don’t, chances are you may have chosen the background image. No big deal. We need to change viewing modes.
Viewing modes: Preview vs Outline (wireframe) Mode
In Illustrator, we can change how we view our artwork either in preview or outline mode. The keyboard short for the is Mac: Command-Y or PC: Control-Y. Try to remember keyboard shortcuts, it will help to increase productivity versus spending time searching in a menu bar.

The image on the left is in preview mode, and the one on the right is outline mode, which somewhat resembles a wireframe too. To get out of outline mode, press Mac: Command-Y or PC: Control-Y to revert to what you were viewing the PDF.
Cut (Extract or Remove) the logo from of the PDF
Since I know now which tool to use while creating this tutorial, the Selection Tool (black arrow tool) is my tool of choice. Select the Coastal Gaslink logo and cut it out. Mac: Command-X or PC: Control-X. We no longer need this PDF opened, so let’s close it out now.
Create a new document, Mac: Command-N or PC: Control-N or File > New Document. Enter the size of 400 pixels x 200 pixels. And now paste the logo on the artboard. Mac: Command-V or PC: Control-V.
Resize the Logo
The logo should be still be selected (denoted by the blue selection), please resize the logo to the artboard size. If the logo is unselected, no blue selection, then reselect it with the Selection Tool (black arrow tool) and resize to the artboard size.
*Note: In Illustrator, if you are resizing an object, please make sure you hold the Shift key while dragging one of the corners to resize proportionately. What this does it constrains the shape to resize proportionately. If you don’t do this, the logo will appear distorted, as shown in the image on the right. The correct logo is shown on the left side of the orange bar.

Time to Save the Files as an SVG or PNG
In Illustrator, we can save a logo as a Scale Vector Graphic (SVG), which can be used for the web. Or as a PNG (Portable Network Graphic), which will also have a transparency background. Save both file formats, just in case you need to create a print document. The SVG will come in handy as a vector artwork versus using a web version image (which is a low resolution for the print marketing materials).
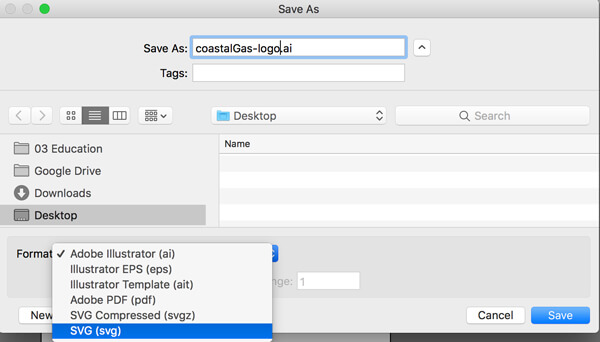
Let’s save your Illustrator first. We are going to save the File as Save As function. By saving this File, we can control what version we want to name our files. As well, tell the computer where to save your File too. On a Mac: Command-Shift-S or PC: Control-Shift-S. Under format, click on the double arrow in the Format box (left-hand corner) and select SVG.

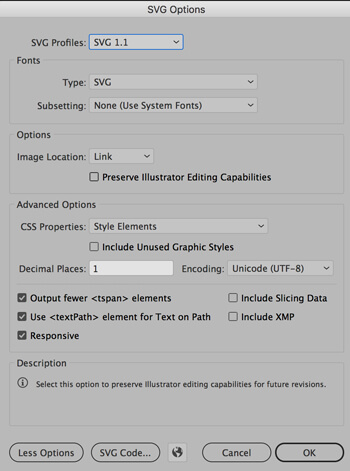
Click on save. Another dialogue box will open, and you will get the SVG Options dialogue box. These are default settings in saving your SVG file. I haven’t had any issues yet so, I will keep the settings as is. When ready, click on, OK.
Save for the Web (Part 1)
Once we have resized the logo to the artboard size, you should see some white space either above or below the logo. Just letting you know, there is no white box behind the logo, there is nothing behind it. It may appear there is a white box, but it’s the colour of our canvas or document.
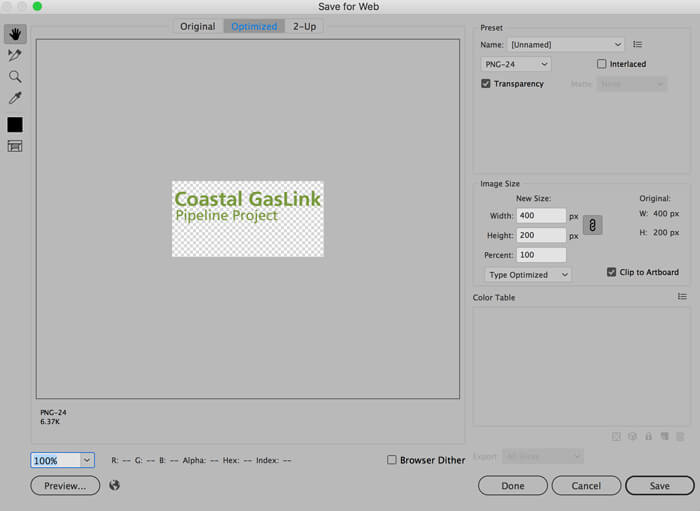
If we leave it as is, we would have extra space around the logo. You will see the transparent and extra space in the logo more visually when you use the Save for the Web function. Let’s go to the menu bar, File> Export > Save for the Web (Legacy). This isn’t what we want because the logo would be saved with the extra space, as shown in the picture. Instead, we need to clean the logo one more time. How? We will adjust the artboard size to the logo instead.

Artboard Adjusting in Illustrator
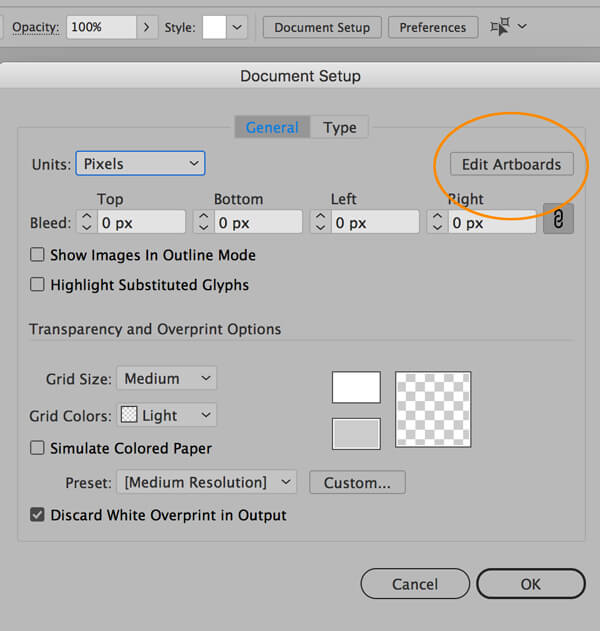
There are a few ways to access the artboards in Illustrator. One is through the menu bar, File> Document Set-Up. A dialogue box will open, and click on Edit Artboards. Or in the control panel of Illustrator, click on the ‘Document Set-Up’ button, and the dialogue box will open.
.

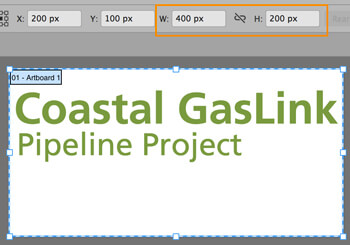
Once you click on the ‘Edit Artboard’ button, another option where you can change the size of the artboard. Noticed the chain-link cross-off. This is telling us we don’t want the artboard to width and height to be constrained. Another thing, since the artboard is selected, we can move the sides to fit the logo. Just remember to give the logo some padding around the logo. This is the method I prefer as I can control and view what I am doing versus using the Artboard panel. Once you are happy, click on one of the tools to apply the artboard resize.

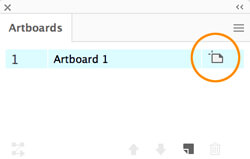
Another method is using the Artboard panels. If the Artboard panel is not shown on the right-hand side or on your computer, go to the menu, Window > Artboard, and the artboard will open.
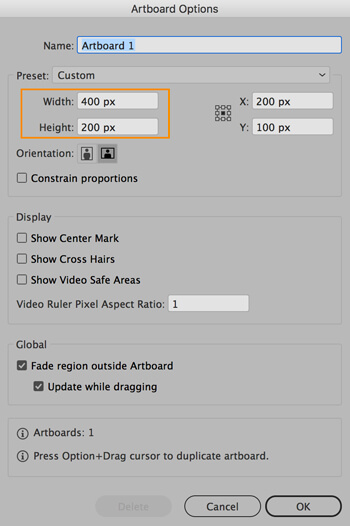
Click on the artboard icon as shown above, and the Artboard Options dialogue will open. Here you can change the dimensions of the artboard as noted. With this method, we won’t be able to drag the sides in as the other method. One needs to manually enter the size in the respective boxes and click on OK when done.

Once the artboard resizes is done, resave your document again so that the latest logo will be used. Go back to #13 for a quick review if needed.Save for the Web (Part 2)
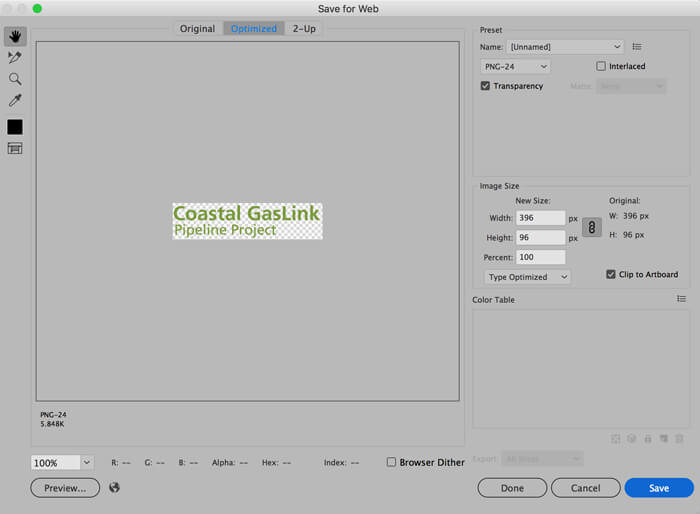
We are so close to finishing this logo. Let’s go back to the menu bar, File> Export > Save for the Web (Legacy). This is exactly what we want because the logo would be saved with very little extra space, as shown in the picture. Click on Save when done.

Overall, you have removed the white coloured background from a logo and have a transparent logo. Watch the rotating image at the beginning of the post, you would see the Coastal GasLink logo with a white background changed into a more prominent logo with no background to it. Which logo do you prefer now? Of course, the Coast GasLink is much more noticeable than what it was from before.
Check out the tutorial video on removing white coloured backgrounds logos!

