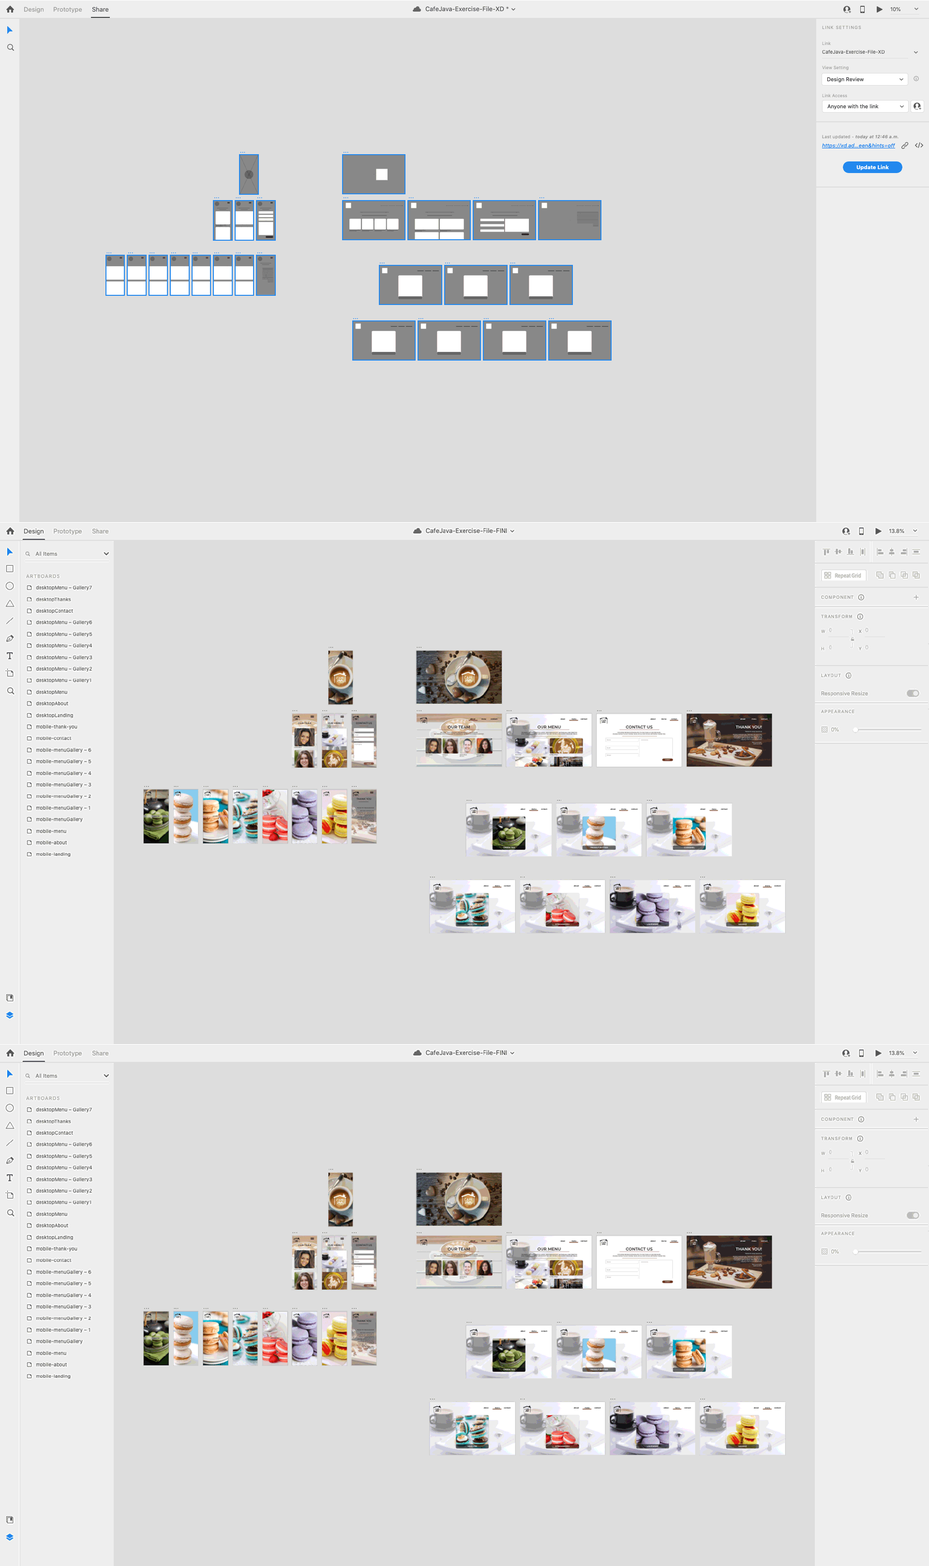
In this tutorial, you will learn how to take your wireframes and create a static mockup in Adobe XD. Adobe XD is a fantastic tool for UI / UX design and will help you create wireframes, mockups, and prototypes to add motion, share it with a client or a team for review, and collaborate with other designers in real-time all in one app. If you are seriously interested in doing web design, this is one of many tools you can explore to use. Adobe XD is free. It works on both platforms, a Mac and a PC, so that anyone can get started right away.
In the past, we created a website and mobile mockups in Photoshop. You can also create mockups in Adobe XD as well. Now, you are probably wondering how? Remember how we built our wireframes in Adobe XD? (if your file didn’t work out as you would have hope, you could download the exercise files and use the provided assets in the description.)
Before we start to create our mockup, make sure you optimize your images by resizing and optimized before importing them into your mockup; I have used Photoshop Save for the Web function and TinyPNG to reduce the file size for maximum optimization. We want to maintain a decent resolution and quality for the web.
Let’s Get Started in Adobe XD
One of the cool things about Adobe XD is you can take your wireframes and easily create a mockup. Let’s begin by opening the wireframe that we made in the last video. Now that our file is open, let’s zoom in on the first artboard by clicking the artboard.
At this stage, you could have some actual text in the mockup to give that genuine feeling of a website. The lines that we have as placeholders for the text can be replaced with text boxes or title headers. Everything else, such as boxes, can be replaced with images or other assets from our folders.
The first thing I will do is bring my background image to my placeholder box on my mobile landing page. I can import the drawing. But the simplest way is to drag the picture right into the box. The image may appear relatively light. We had changed the opacity of the grey placeholder box when we created our wireframes. Select the image and crank the opacity back to 100% on the control panel’s right-hand side.
Adobe XD Layers
If I want to delete the X in the placeholder image, I need to select and delete it. It appears I can’t. And it’s because the image is on the top layer of the artboard. To do so, make sure that you choose the icon and not the name. In my layers panel, select the line layer and right-click delete. And should remove that line. I mentioned a few seconds ago and said that the main image is the top layer. Well, we need to bring in the logo and replace the existing placeholder on my wireframe. But, it’s on the bottom layer, so we need to move the logo above the main background image. Select the layer and drag it above the background image. We can delete the logo ‘X’ lines too.
The background image is off a bit. We can adjust images within their containers by double-clicking the image and moving the image into place.
Click on the outside of the image to deselect it. We can also adjust the image size by taking one of the corners’ masks to resize it. Make sure you are on the correct layer to do so. Again, click outside of the image to deselect it.
Making it Real!
For the rest of the mockup, apply the other assets, colours, and text to be included in your mockup. Try to make it as realistic as possible as we would be showing this to a potential client for additional feedback.
As we went through building a typographic system, we began our design process by writing a creative brief to research our users. We identified any design problems that affected the visual hierarchy of an existing e-commerce website. We then built a style guide that is on-brand, produced a layout and wireframe suitable for our average user, and designed a mockup that visually represents our creative strategy. I hope you all enjoyed this video. Leave a like on it if you found it helpful and share
Overall Reminders?
Creating wireframes pushes user usability to the forefront in showcasing page layouts at their core. Please take out the images, colour, and text and focus on the bare bones so that it forces everyone to look objectively at a website’s ease of use, conversion paths, naming of links, navigation placement and feature placement. Once the client approves it or changes them, now is a great time to take those same wireframes and make a mockup. A mockup involves focusing on the overall appearance of web design to website architecture and functionality. This is why wireframing and prototyping go hand in hand, along with mockups. This video will take an existing wireframe and build a static mockup for desktop and mobile layouts.
