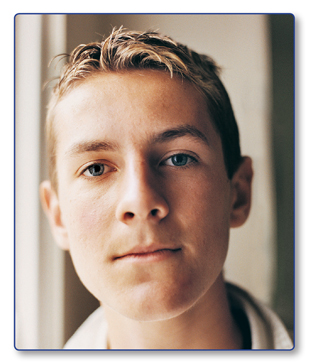
To make your brush smaller use the keyboard shortcut [
To make the brush larger, use the keyboard shortcut ]
The spot healing brush tool works great on small flaws and blemishes to retouch. The cool thing with this tool, you do not need to select a sample first; Photoshop will do all the work for you, and it will automatically heal the flaws using the pixels surrounding it to blend the retouched area. The spot healing brush tool randomly samples the new pixels for that area. If you decide you don’t like your result, undo it and try again until you achieve the results you desire.
- In the toolbox, you will see a “band-aid” icon. Just click on the Spot Healing Brush tool icon and hold your mouse button down until you see a new menu pop up. From the toolbox, click the Spot Healing Brush tool or Click J or Shift-J.
- The Control Panel changes to the Spot Healing Brush Tool options

- After you set your brush and sample options, you are ready to select your sample area and begin spot healing your image
- On the image, click on top of the blemish you want to retouch. Your brush will turn to black, and in a few seconds the flaw will go away

- Click on another flaw with the Spot Healing tool, and it should look like something like this with no blemishes

Come and watch our tutorial, How to Remove Flaws with the Spot Healing Tool in Photoshop on Youtube.


