In today’s session, we’ll delve into the process of crafting a comprehensive style guide for your project and seamlessly exporting it as a PDF document within Figma.
How to Create a Dynamic Style Guide
If you’re starting from scratch without any predefined text, color, or object styles, it’s essential to establish these fundamentals first. Feel free to refer to our previous tutorial for a quick setup guide before proceeding with this tutorial.
Our tool of choice for this task is the Automatic Style Guides plugin. To access it, simply navigate to the resources icon adjacent to the type tool, select plugins, and search for “Automatic Style Guides.”
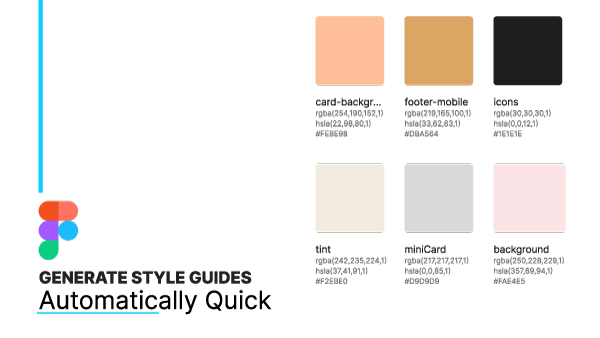
Assuming you already have the plugin installed, proceed by clicking “Run” and selecting “Generate Style Guides.” This action will instantly create a new Style Guide page within your Figma file, located conveniently on the left-hand side panel. The generated style guide will be named identically to your Figma file and will encapsulate font and color styles.
Dynamic Style Guides
One noteworthy aspect of this style guide is its dynamic nature. Any modifications made to styles will trigger real-time updates within the document. However, it’s essential to mention that text sections displaying RGBA and Hex colors may not update automatically. In such cases, manual adjustments or assistance from the plugin will be required.
Update Moustache Tags
To rectify this, revisit the plugins menu, and within Automatic Style Guides, select “Update Moustache Tags.” This action will prompt the plugin to refresh text sections, ensuring accurate representation of both colors and hex codes.
Now, let’s explore the typography section of our style guide. Here, you’ll find an organized display of Text Styles, mirroring the arrangement in the right panel of Figma. This comprehensive depiction includes all properties associated with Text Styles, offering a clear overview of your design assets.
It’s important to note that as you continue to refine your designs within Figma, your style guide may fall out of sync. To maintain its accuracy, simply execute “update moustache tags” whenever necessary. Remember, any modifications made directly to frames within the style guide will also be reflected in real-time.
Creating your PDFs
Once you’re satisfied with the style guide’s content, ensure all frames are selected, navigate to the main menu, click “File,” and opt for “Export to PDF.” Assign an appropriate name to the file, reflecting its content, and save it accordingly. This PDF style guide serves as a valuable resource for team collaboration, fostering consistency and cohesion in design projects.
With just a few simple steps, you’ve efficiently generated a comprehensive style guide within Figma. Stay tuned for our upcoming tutorial, where we’ll explore advanced techniques for enriching and customizing your style guide to better align with your project requirements and preferences!