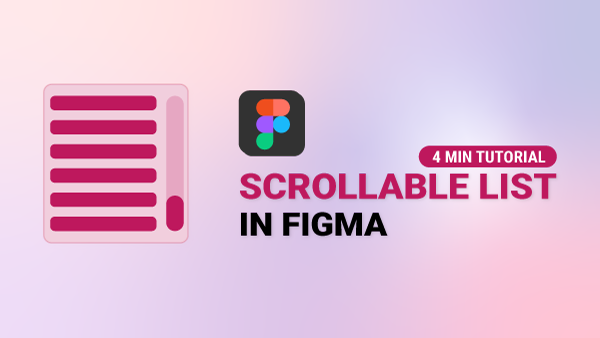
In today’s tutorial, we’ll dive into the process of working with a scrollable list. Follow along as we guide you through each step to create a seamless and interactive design element for your projects.
Step-by-Step: Scrollable List
- Setting up the Document
Let’s begin by creating a new document if you haven’t already. This serves as the foundation for our scrollable list design. - Creating the Header
Kick things off by incorporating a header into your design. We’ll use a simple rectangle for this purpose. - Adding the Scroll Bar
Introduce a vertical rectangle to act as the side-scroll bar. Learn how to duplicate and modify its attributes for a polished appearance. - Populating Content
Explore efficient ways to include content in your scrollable list using keyboard shortcuts and duplication techniques. - Aligning Text Boxes
Ensure a neat and organized layout by utilizing alignment tools to evenly space and align text boxes. - Grouping Text Fields
Learn how to group text fields for better organization and easier manipulation. - Creating Duplicate Frames
Duplicate the frame to set the stage for introducing motion and interaction in your scrollable list. - Adding Motion and Interaction
Activate the motion by adjusting positions, sending elements to the back, and creating links between frames. Utilize ‘On Drag’ Interaction with ‘Smart Animate’ for a smooth user experience. - Testing the Prototype
Navigate to the prototype stage, create links between frames, and test the scrollable list. Ensure a seamless drag-and-drop experience for users.
Scrollable List Finalized
Congratulations! You’ve successfully crafted a scrollable list using one approach. Remember, there are various ways to achieve this, and we look forward to sharing more alternatives in the future. Thanks for tuning in! Don’t forget to hit that subscribe button and the notification bell to stay updated on more handy tips and tricks. Happy designing!