If you work with a MAC, click on the below link to watch how you can optimize and resize the images without Photoshop.
I have always used Photoshop to optimize my images for the web. ‘Save for the Web’ function was a common practice when working with online images. Although it does a decent job of it, there are some times the files that are still significant.
For the past few years, I would run my images through a third party website that strips its metadata. Its algorithms make the photos smaller but keep the quality intact.
Steps in My Workflow While Working With Images
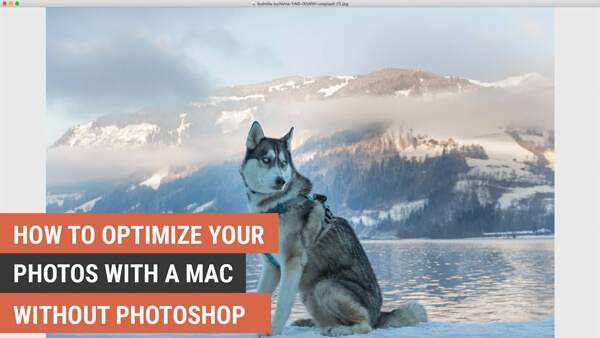
What I usually do, I would use Photoshop to resize my images to the sizes that I may need. For example, here is a picture of a husky from Unsplash, a royalty-free image library database. The image is 5800 pixels wide or about 81 inches in width. I don’t need this image that big, but need it to be 1920 pixels wide for the website I am designing for.
If you have access to Photoshop, and you don’t know how, click on the link to watch, ‘How to Use Saving for the Web in Photoshop.’ Now, most people who are watching this may have heard or used Photoshop.
No Photoshop, HELP!
That’s okay. If you work with a PC, click on the link to watch the PC version on how you can optimize and resize the images with a PC. And if you are on a Mac, one could use the application called Preview. We will open this in Preview, and we can go to Tools > Adjust Size and enter the Actual Size here.
If you noticed, you could see the dimensions in pixels and inches here. I am going to change my size to be 1920 pixels wide.
My file size does go down to 2mb to 276kb! That’s a lot of space savings, but not only that, my image will upload and download quickly.
Can I Further Optimize my Photos?
You bet! Would you imagine this image was further optimized by 50% and still retained its quality?
How?
It’s called tinypng.com or tinyjpg.com. Both websites are the same, and they take both file formats on each other’s websites.
I have always used tinypng.com since the early days of 2012. One could upload the images through the website, or you can purchase the plugin for Photoshop.
For this tutorial, I will be using a free online tool. Not only that, but I also love seeing the difference in how much space I save
when uploading my images online! Go to either tinypng.com or tinyjpg.com. I am using tinypng.com in my example. Depending on which website you may use, one website uses jpg and the other uses PNG. And again, both websites do take both file formats.
When an image is uploaded to the website, it is processed and analyzed through the site. It looks at the colours and selectively decreases the number of colours in the image and removes any unnecessary metadata in the picture, reducing the file size dramatically.
In my example earlier, the husky image was saved down to 276kb using Preview. You can either drag and drop the image inside where it says or click anywhere on the big button to browse and select your images. You will notice another 50% was reduced,
and my final size is 132kb! If we look at this side by side, do you see any difference between the two?
Having an image optimized for the web will download quickly on a mobile or tablet but it’s great for SEO practices too!
Here is an online tutorial video. Thanks, everyone, for watching.
If you enjoy the video, like it, share it, and subscribe to the channel. And I will see you next time!