One of the easiest ways to make a selection, but it is quite useful. Use this method if your object in the image is on a solid background, like a product shot with a white background. But this can be used in other photos if the tolerance and sample size is turned on too.
Magic Wand, a Quick Selection Tools
The Magic Wand creates a selection based on the shift in brightness ranges in an image. If there is a definite shift in the brightness of the pixels, it can be a potent tool for the selection of odd-shaped areas.
Select the Magic Wand tool on the toolbox

- Click the Tool Preset list arrow and then select from the available presets
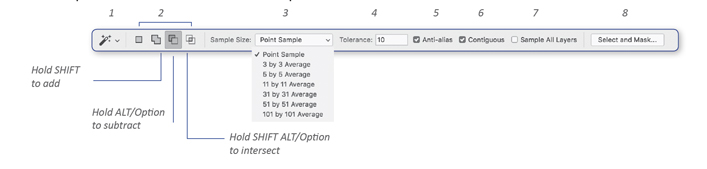
- Use the selection options on the bar to create a new selection, add/subtract from or intersect with an existing selection.
- Sample Size allows you to pick one pixel by one pixel up to 101 pixels by 101 pixels average. 3×3 is decent.
- Enter a Tolerance value (0-255). The higher the value, the more information the Magic Wand tool selects. The lesser the value, the less information the Magic Wand tool selects.
- The Anti-Alias checkbox creates a softer selection (useful with intensely rounded or curved selections)
- Select the Contiguous box to select adjacent pixels within the active document
- Pick the Sample Layers checkbox to sample image information from all layers.
- Select and Mask, refine edge, apply refinements, such as feathering, to your selections
Getting Started with the Magic Wand Tool
- We will use the magic wand tool and apply a mask to our image. To show you how a mask works, a different background image will be placed in the image vs a blue sky.
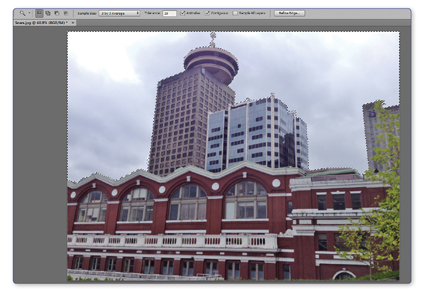
- Open the layered file, Sears-MagicWand.tif, for the following exercises.

- You will need to experiment with the Tolerance as images are different from one another. In my example, I had used a Tolerance of 20 and Sample Size of 3×3. Select the blue sky.
- Click inside the blue sky with the magic wand tool. I did have to adjust my magic wand selection and used the ALT/Option key to subtract and Shift to add to the selection.
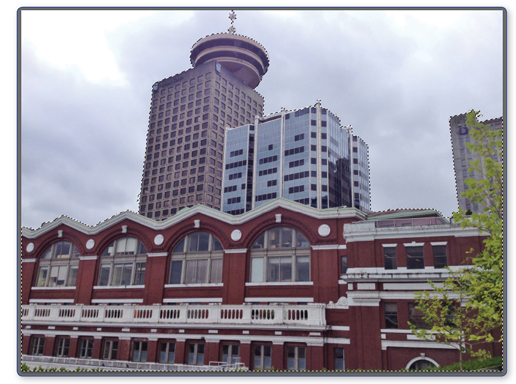
- Once done, I want to Inverse my selection so that I can mask out the blue sky. Keyboard shortcut is Ctrl/Cmd Shift I or Menu > Select > Inverse

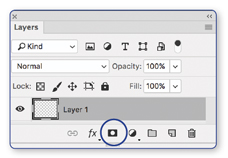
- In the Layers Panel, click on the mask icon, right beside the fx icon to the right of it.

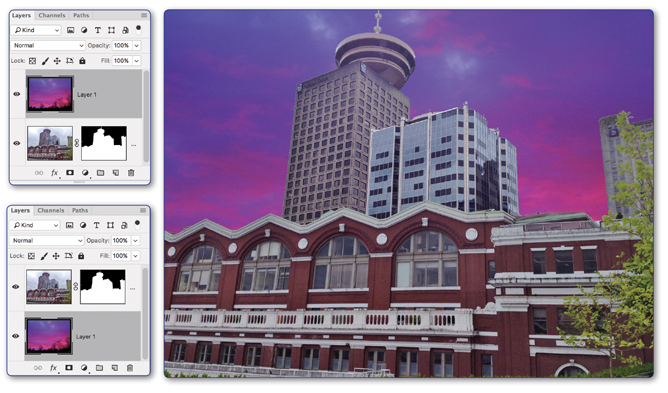
- Your blue sky is hidden with the mask, and a transparency grid is shown
- The original blue sky is still there; it is now masked and hidden so that the underlying layer can show through.

- Want to add a new sky in the background. Copy and paste or drag and drop the layer into this Sears photo. You will need to restack the new layer under the Sears tower layer.