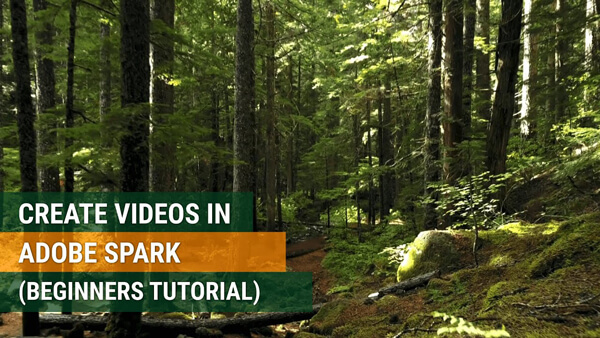
Just imagine that you have been asked to work on your work’s Instagram account or if you want to create your account. Like me, I am not big on Instagram but know, in today’s world, Instagram is the one many social media that the young folks are into. In today’s tutorial, we will look at Adobe Spark. It is a set of three apps, Graphics, Web Pages and Videos. All three products allow you to create and share your work with everyone easily. So, next time you need to crank out an Instagram or Twitter post for work, use Adobe Spark to make yourself look competent and professional!
Creating posts for social media, graphics, web stories, and animated videos can be time-consuming for some. If you know how to code in HTML5, CSS3, or even Javascript, then this video isn’t for you. If you need an application that can create a short video in a matter of minutes, then Adobe Spark is a tool for you. The Adobe Spark Starter Plan, both the website (spark.adobe.com) and the iOS apps (Spark Video, Spark Page, and Spark Post), are free. Yeah, FREE. You can create, edit, share and tell the world how you created this video with Spark.
Make things more accessible; it’s always a good plan to write out what you are trying to accomplish. For example, I am going to create a short introduction video for one of my lessons in one of my classes. Inside the folder is an image, a couple of videos and a jingle. With Spark, there are many templates, layouts, themes, and music. Hence, why creating a video or post is such a time-saver.
Watch the video here to see work in action!
Steps to Create a Video
- After you log into spark.adobe.com, you should see a blue circle with the plus sign.
- A new screen will pop open. Here you can enter the name or title of your project. You can also leave it blank, or you can change it later too
- Once ready, one more screen will open for you to choose the type of video. One can choose a template style, or you can also build from scratch. I decided to select ‘Teach a Lesson’ in this tutorial.
- In a few seconds away, we are going to see a blank canvas. On the right-hand side is a few options, from Layout, Theme, Resize and Music. In the layout, we have four different styles. If you want two lines of text, the ‘Title and Text’ option is the one to use. If you want more than two text boxes, maybe three, then you will need to use another application such as Illustrator or InDesign to place that text on the image and import the photo into Spark.
- For this tutorial, I have used Adobe Illustrator to place more text that I could format a tad better than what Adobe Spark could offer me. It isn’t necessary, but it’s an excellent way to have other options available to use too. The full-screen layout is used for the longitude and latitude for this tutorial. Place at the bottom of the video as an example. For the theme, I picked ‘Noir’ with the colour blue typography
- If you click on the ‘Creativity’ logo at the bottom right of the spark video, you can turn the ‘stamp’ off. You could also place your logo here, as well.
- Click on the ‘+’ icon on the Spark project and a pop-up will open, asking you to select either a video, text, photo or icon.
- Click on a photo and choose a photo from the side-bar. If you click on the ‘+’ icon again, you can enter your content if you want the content to appear on top of the photo or video.
- At the bottom of the Spark project, click pon one of the slides. Here, you can change the layout. I am using the ‘Title and Text’ theme. The Title text will be in blue, and the text portion will be white. To speed things up, one can duplicate the slides by clicking on the three dots in the slide, and select the ‘Duplicate’ option
- At this stage, you have two options. One, if you want the title page to be separate, you can. Just click on the ‘+’ slide to create a new slide. Want the text on top of the slide? Select that slide and click on the ‘+’ icon in the middle of the page. And you will have the text on top.
- The three dots in the slides will also allow you to delete the slide. One can clean-up their project by removing unnecessary slides.
- When you are ready, you can preview, share, or download your video. One the coolest thing is Adobe allows you to host your Spark project on Adobe hosting site, so sharing can be quickly done too.
A quick tip video will appear. If you want to watch the quick tip, click on the play button. If you choose not to play the video, click the ‘x’ in the top right-hand corner
A Spark video allows one to create animated video in a few minutes for social media, websites, or channels. One can either build from scratch or use the different themes, templates, photos and icons that are available to you by Adobe. Your video can either be shared, downloaded or hosted on Adobe’s cloud. Spark is an application that requires internet access on a tablet, mobile device or computer.
So, next time you need to crank out an Instagram or Twitter post for work, use Adobe Spark to make yourself look competent and professional!
