Welcome back to another Adobe XD tutorial. This tutorial shows us how to use UI Faces using an Adobe XD plugin. With UI Faces you can create your perfect mockup and prototype by choosing from thousands of avatars that you can filter by age, gender, emotion, and much more for a customized persona or demo.
Getting Started with UI Faces
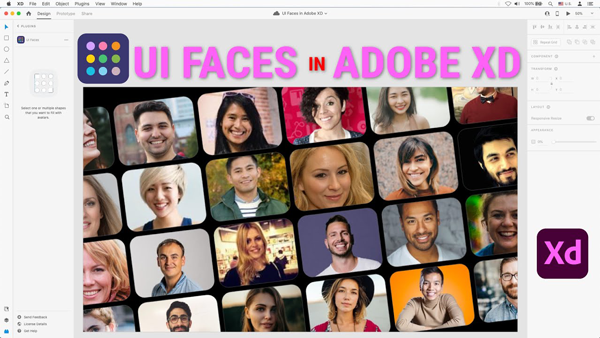
Let’s get started. Imagine creating a new website or a persona report, and you need photos of people to depict users. I have used random headshots from stock photograph websites when designing apps or prototypes. Browsing through those sites can be time-consuming.
Browse Plugins – UI Faces
You will find plugins in Adobe XD’s main menu, Plugins and select Browse Plugins. Or in the bottom left-hand corner is an icon that looks like a Lego piece, go ahead and click on that. Click on the + symbol to Browse Plugins. Your Creative Cloud account will launch with a list of all plugins. In the search field on the left, enter UI Faces. Choose UI Faces from the list. Click on Get.
This is where the fun starts. Select a rectangle, ellipse, or path and select your desired settings. Choose which site you’d like your photos to come from the age, gender, emotion, and hair colour of the models. You can also use the advanced options to filter results by popularity.
Apply to Selection
You can apply an avatar only to the instance selected and repeat grid. Choose the photos you want to insert and click the “apply” button, or choose the random option to insert images at randomly. In fact, you can turn coloured avatars into grayscale.
With UI Faces, it is a great plugin to speed up your design processes. Sure, you can leave Adobe XD, go to your favourite free stock library, browse through the database, download and then go back to Adobe XD and import them into your project, but sometimes this can slow your work process. And the old saying is, time is money!