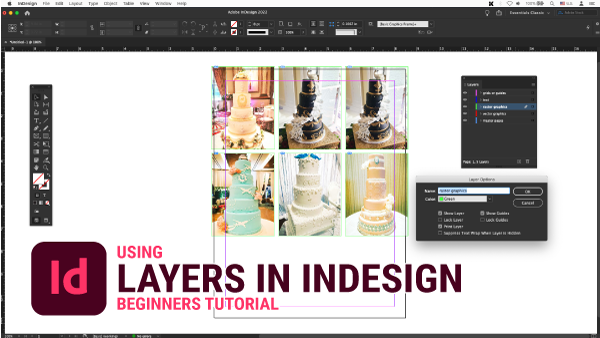
Welcome back to another ulearn tutorial. Using layers in InDesign is today’s topic. What is a layer? Layers allow you to move, edit, hide, lock, and work with content on one layer without affecting content on other layers. Not only that, layers are a great way to organize content. That’s why layers are useful in any document. Watch the video tutorial or have a nice read. Both are great!
Want Your Files Build Correctly?
To succeed, you must create layers correctly. When you make pizza, would you put sauce on top of the cheese? No, you wouldn’t. In InDesign, it’s always a good idea to create and name your layers and place similar elements on the same layer to keep things organized. For example, when we make a document in an InDesign file, I create five layers: Master or Parent Pages, Vector Graphics, Raster Graphics, Text, and Grid.
If so, Let’s Get Started…
First, let’s create a new document if you haven’t already. File – New – Document or Command N for the Mac or Control N for a PC. It doesn’t matter what size of the file we use, it will work either way. Letter size is what I’m going to choose. We can tackle bleeds and slugs at a later date. I will click on Create at the bottom right-hand corner of the page.
Process:
- Okay, we should see a blank page. Each new document you create starts with a single layer, named Layer 1. Now we can create and manage our layers. If you don’t see the layers panel at the side, you can go to the main menu, Windows and Scroll down until you see Layers. Click on Layers, and the Layers panel should open.
- But first, let’s talk about the Layers panel and what we can do with it.
- I will create a simple box to show you a few simple things. In the layers panel, I have an ‘eye icon,’ we can turn the ‘eye, or visibility’ off and you won’t see anything such as the box. Besides the ‘eye’ is an empty checkbox. Click on this, and a lock will appear. This locks the layer. Nothing can be added or moved until I click to unlock it, and the lock disappears. On the document, click in a blank area to deselect the box. To select the rectangle use the selection tool, the black arrow.
- There is a drop-down arrow beside Layer 1’s name. The contents of this layer will be displayed here. The pen icon indicates the current layer. The coloured square is the selected item(s).
- To rename a layer, double-click the layer’s name in the Layers panel, type in the new name, and click OK. I will rename this layer to ‘Master Pages’. You can change the colour of the layer, or you can show, lock, print the layers or show or lock guides. Master pages can contain text and graphic elements, and they will appear on all pages (page numbers, headers, footers)
Create a New Layer:
- To create a new layer, click the Create New Layer + button at the bottom of the Layers panel.
- In the Drop-Down hamburger menu, select a new layer.
- Select a layer, right-click, and select ‘new layer,’ or ‘duplicate layer’
Now, let’s take a few seconds to practice what we have learned and create new layers and rename them. We want to place our content and artwork on their respective layers.
These five layers are the key foundation of a good InDesign file:
- Master Page or Parent Page
- Vector Graphics (think of Adobe Illustrator files, such as an EPS, SVG)
- Raster Graphics (think of Adobe Photoshop, images, pictures, photos)
- Text
- and Grid (or Guides)
Great job, everyone!
Let’s say we want to duplicate a layer:
- Select the layer, right-click, and select the duplicate layer
- In the Drop-Down hamburger menu, select duplicate layer
- Drag a layer onto the Create New Layer + button at the bottom of the Layers panel too! This last one can be tricky as you can delete the layer by mistake too.
Okay, let’s delete a layer, it is very similar to creating a new or duplicating a layer:
- Select the layer, right-click, and select delete layer
- In the Drop-Down hamburger menu, select delete layer.
- Select a layer and drag it to the trash can in the layers panel to delete a layer
- Select a layer and click on the trash can in the layers panel to delete a layer
How about moving or arranging layers?
- Select a layer and drag it down, and when you see a line appear below the layer, release the mouse to reorder the layer in the document
- Select a layer and drag it up, and when you see a line appear above the layer, release the mouse to reorder the layer in the document
Most importantly, the order of the layers in the layers panel determines the order of the content in the document. For example, the top layer is on top of all the other content, and the bottommost layer content is behind all other content in the document.
Just remember, layers make layouts easier to organize. You can turn on or off related objects on the same layer for viewing, printing, and working on your layout by arranging them together. This makes things easier when working. And you of you have to, yes, you can have multiple vector layers or text layers if you had to, it truly depends how complicated or the complexity your layout is.
