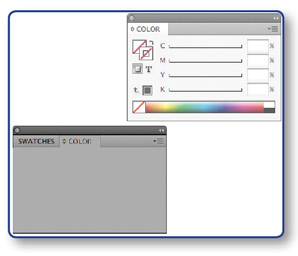
The panels are organized into groups, such as Color/Swatches or Libraries/Adjustments. Multiple displays? It probably doesn’t matter then for you. Many of us are working with one monitor due to lack of space; customize your workspace to save screen space by adding or take-away specific panels within a group of tools.
A panel appears with tab titles and three options:
- the close button
- the collapse to icons button
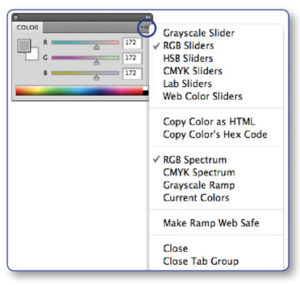
- a drop-down menu (more options)
The Options menu provides you with panel commands. The entire set of panels includes a double arrow at the top; you can use to collapse and expand the whole panel back and forth between icons and full panels.
Add a Panel to Another Panel
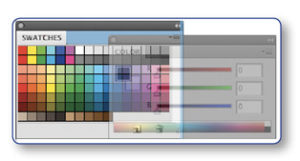
Want to place the Color Panel with the Swatches panel?
- Select a panel by clicking on the named panel
- Then drag the panel into another panel
- The panel window will turn blue, once you see this, let go of the mouse

Subtracting a Panel
You decide that you don’t want to place this Color panel with the Swatches panel.
- Select a panel by clicking on the named panel
- Drag off it. The panel will appear grey, and the panel will look it is ‘ghosting’ until you release the mouse.

Hide Your Palettes
- To see more of your design, clear all the palettes, including the Tool palette, press Tab. Hit Tab again to re-appear.
Except for the Tool Palette
To clear all the palettes except the Tool palette, hold Shift and then press Tab.
Expand the Panel
- Click the double arrow pointing left >> to expand your panels at the top of the panels.
- Click on the double arrow pointing right << to collapse to icons at the top of the panels.

To access the Options in the panel, click on the down arrow in the panel as shown (mini hamburger menu in the panel)
